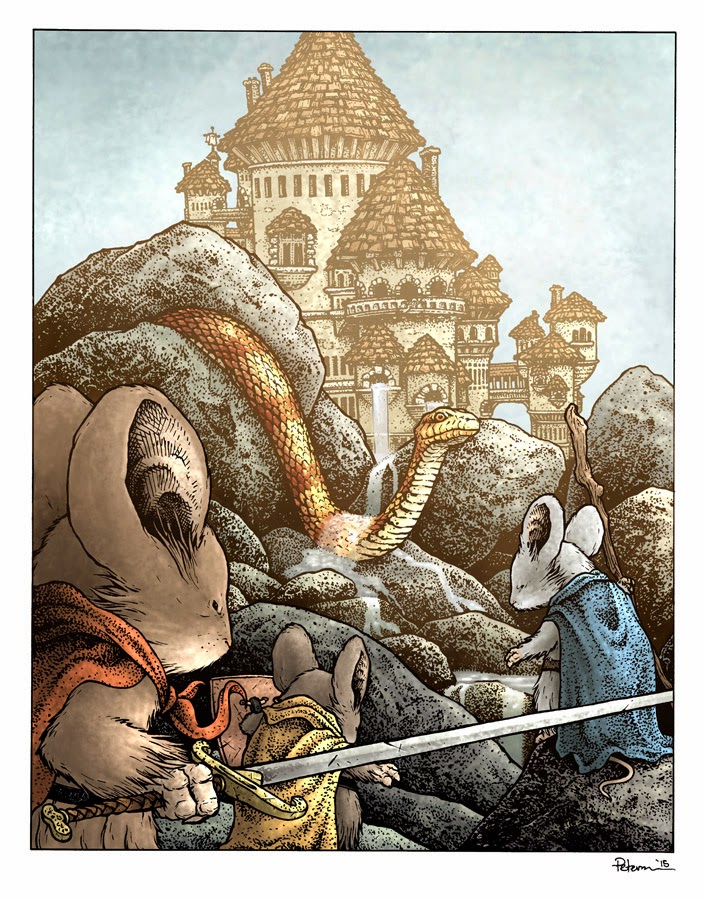
The third Legends of the Guard Volume will be collected in hardcover later this year. Like all Legends of the Guard cover, the images are Legends themselves. To the left you can see the cover as it will appear on the book, but for today's blogpost I'll go over the process to get there.
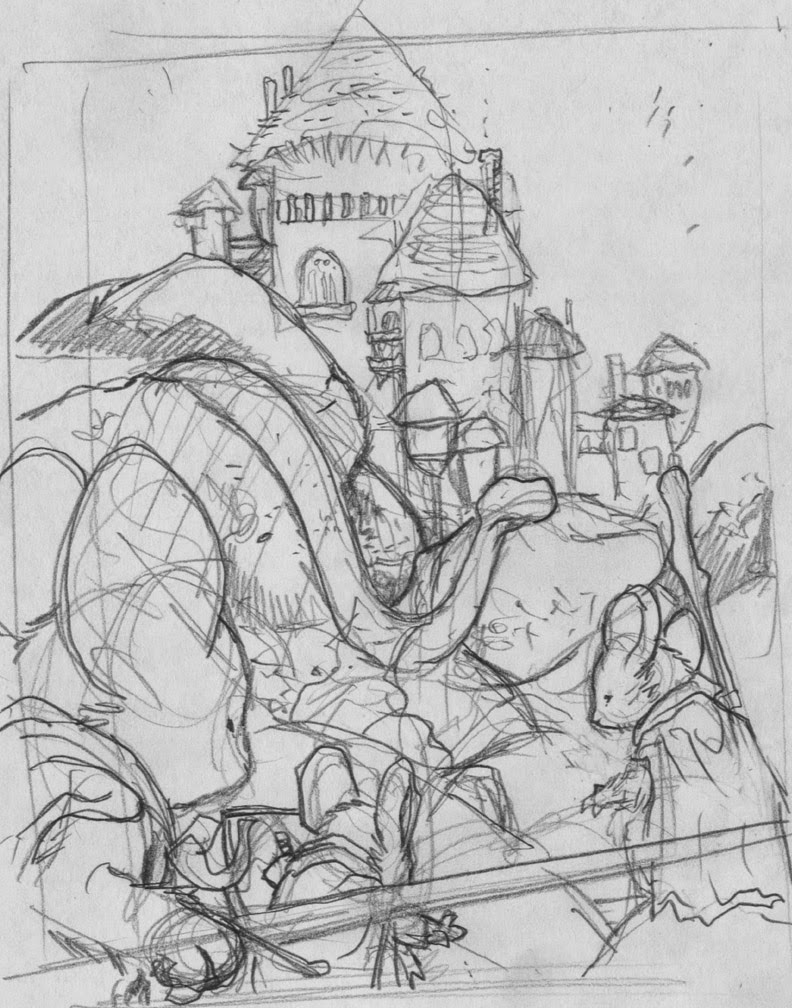
 I started with the idea of the Legend, which was a story seed I'd jotted down (with about 5 others) for contributors who needed some ideas to get them started. A story about a mouse who rode a snake as a mount had never been claimed, so I used it for myself. The snake and mouse were drawn on copy paper for me to scan to resize and place in a cover template file to make sure everything fit with logos, spine location, etc.
 After I composited the subjects and digitally painted in some color to help establish the horizon line, I printed out the layout (on several sheets of printer paper and then aligned them and taped them together.) On the printout I started penciling in all the clover and grasses that would make up most of the landscape of this cover.
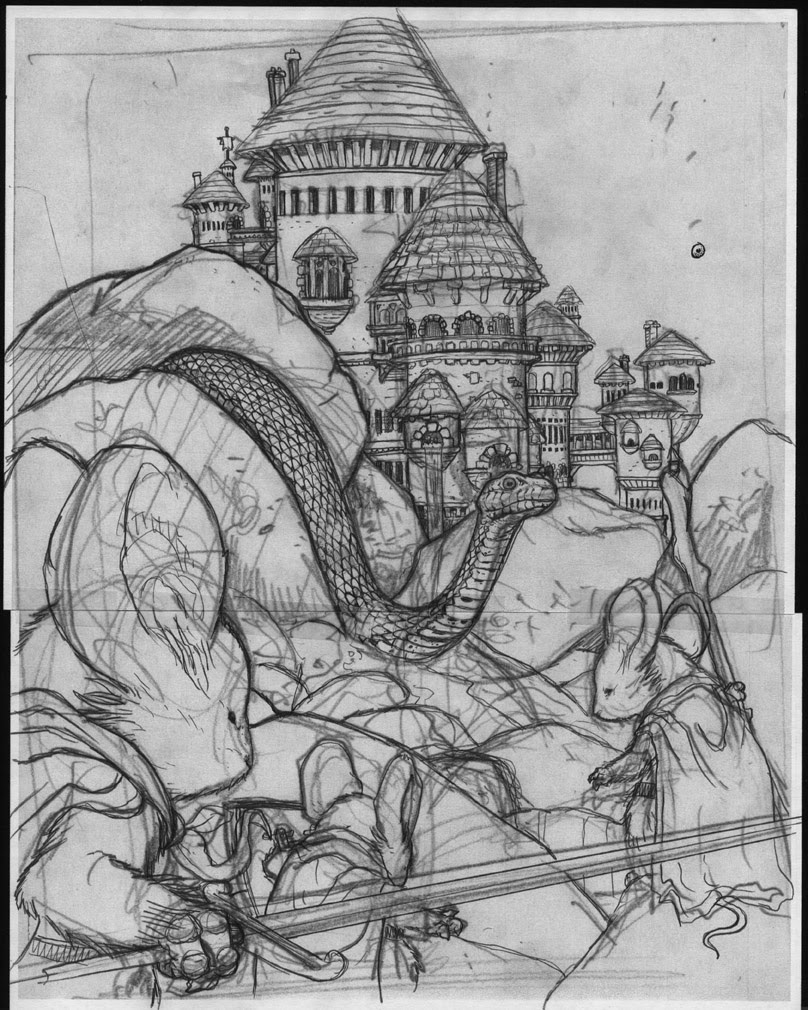
 Here you can see my pencils on the printout. This is something that looks very detailed and chaotic, but since it's organic repetition of shapes, it's not as complex as it appears. I just keep doodling the same shapes over and over overlapping some, filling in gaps with back, and drawing a blade of grass or a clover flower popping up very so often to break the monotony of shape. The only downside with this was that I so tightly penciled the clover that there was less to do in the inking step and it made me feel like I'd lost some of the life and detail in my pencils.
 After adding in the clover on the printout, I decided I needed more background...the sky was missing something. So I went with a mouse city. For inspiration I looked to James Gurney's painting for Dinotopia: Journey to Chandara of the Windmill Village. I drew my mousey dwellings on copy paper aligning them to the printout on my lightbox to make sure I was drawing the buildings only in the open spaces.
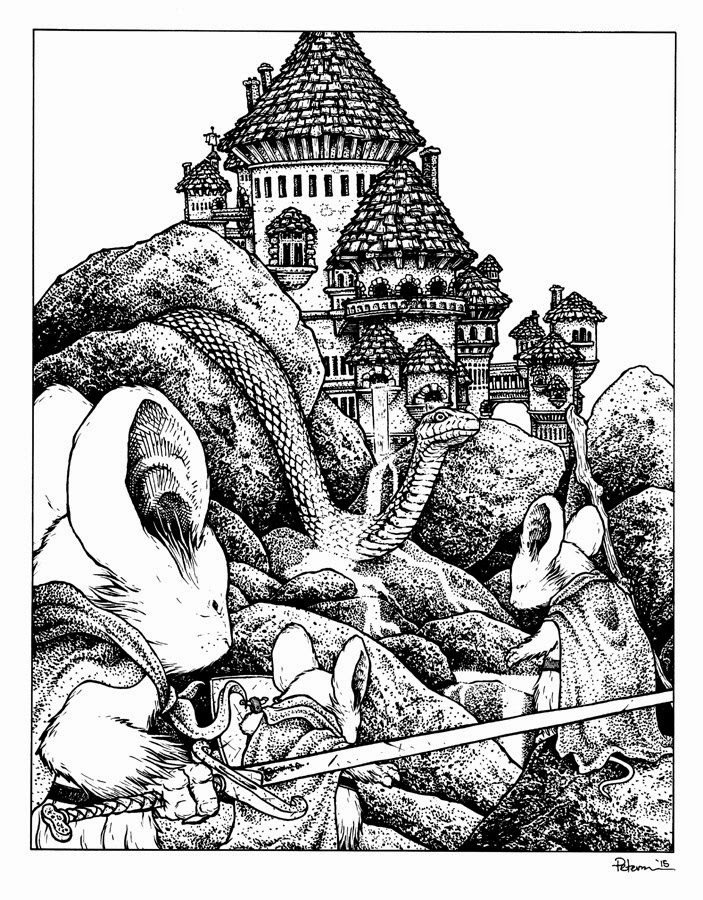
 With the various printouts and sketches taped to the back of Strathmore 300 series bristol at different times, I was able to ink the cover on my lighbox. I used Copic Multiliners to ink with. I prefer the 0.7 nib for most of my lines, but I drop down to the 0.3 or 0.2 for really fine details or lines like the mouse's eye.
Below are some process shots I took with my phone and shared on Facebook, Instagram, and Twitter as I inked.


 After I finished the inks I scanned them in and started to color the piece with flat color in Photoshop. I added a color hold to all the village inkwork to help it recede into the background. I'd already established most of the color palate for this cover back when I did my digital mock-up/composite, so this was just a matter of coloring inside the lines.
 To render the color and get the shadows, highlights and texture, I use the dodge and burn tools with a textured brush. In areas like the clover (or when I do shingles or a forest floor of sticks) I select groupings of the shapes and then make them darker, lighter, or shift the color compared to a few around it...and I keep doing that until the clover all look a little different and not like they were painted on a computer.
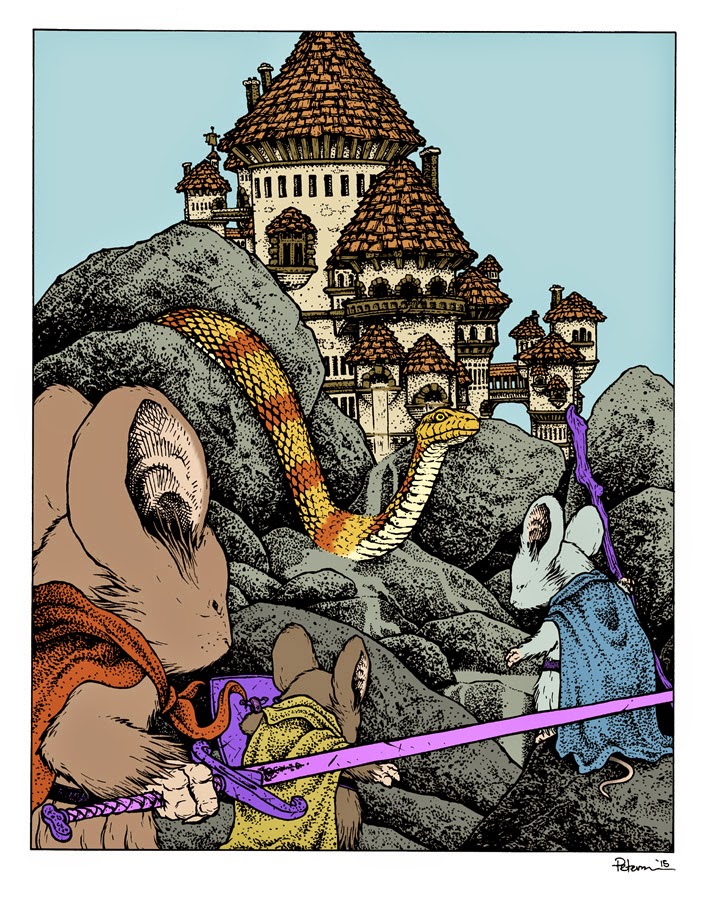
Here again is the final cover art sans-logo and border. The book is due out this Fall and you can read about the legend of this mouse and snake inside its pages.

2015 Appearances:
Denver Comic Con May 22-25
Heroes Con June 19-21
San Diego Comic Con July 8-12
Boston Comic Con July 31- Aug. 2
Long Beach Comic Con: Sept. 12-13
Baltimore Comic Con Sept. 25-27
New York Comic Con Oct. 8-11
Art-Bubble Comics Festival: Copenhagen: Nov. 14-15