Tuesday, June 30, 2015

Mouse Guard color Video #7

For this week's blogpost (and 1 more to follow) I colored a inked Mouse Guard character portrait in my normal fashion in Photoshop. I recorded the process and speed up the result x8. Here is the video:


direct link to watch the video on Vimeo:
https://vimeo.com/112129703


Here is a better look at the original inks and the finished piece:

To see more coloring videos visit my Vimeo Video Page:


2015 Appearances:
Boston Comic CoJuly 31- Aug. 2
Long Beach Comic Con: Sept. 12-13
Baltimore Comic Con Sept. 25-27
New York Comic Con Oct. 8-11
Art-Bubble Comics Festival: Copenhagen: Nov. 14-15

Tuesday, June 23, 2015

Mouse Guard HEROES 2015 Auction Piece

This HUGE 32" x 40" Mouse Guard Watercolor was auctioned off last weekend at the Heroes Con auction. The money raised from that auction go to help fund next year's HEROES. And since they are one of the best cons out there, privately owned by folks who really care about comic creators & fans, and they always put on a great show, I was happy to do an original piece for them. Today's Blogpost will walk through the steps used to create this piece.
Usually I don't do pieces this large. The exceptions being live art donations at a show like HEROES. There I'd be up on their stage, provided with materials and an enormous sheet of mat board to create something live while fans watched so they could prepare to place their bids later that night. Well, this year, I opted to do the piece at home in my normal controlled environment where I could do something more detailed and exciting. I did a few pencil sketches (the mouse and weasel are separate drawings added together in Photoshop), with some stock border pattern dropped on the top and bottom to frame the piece.
The grid overlayed on the photoshop work up above was so I could accurately line up and tape all of it back together when I printed this 32" x 40" image out on several sheets of 8.5" x 11" paper! Yikes. I didn't have a projector available to me on short notice, so I opted to do this patchwork technique I used to use when needing to affordably make large signs in-house at my old job back at the antique store: "15% OFF ALL ANTIQUE RESTORED LIGHT FIXTURES IN JANUARY".  Here I was starting to regret not doing some image simple enough to not just be drawn out on the board directly.
To then get the image from that huge patchwork of printouts, I had to coat the back with graphite. I used a super soft (7B) Graphite stick and on the lightbox was able to make sure I was covering the backside of the image only where the lines were. This way I didn't break my hand rubbing graphite onto place that would never need it. Here, I was really starting to regret not doing something simpler that could just be drawn directly onto the board itself.
After the graphite was applied, I flipped the patchwork over, taped it to the mat board, and started tracing over my lines with a ball point pen. The pressure of the ballpoint transfers the graphite from the back of the printout to the mat board's surface wherever I've drawn over with the pen. It was very late (or early AM) when I finished this step. It too was arduous, but I was having a more positive feeling about the final piece at this point. After some sleep, I'd start tackling the painting of it.
Using a cheap tray of watercolors, I started applying washes and then building them up, letting natural splotches happen at times, while carefully controlling where the paint went at other times. Below is the progress of the washes:

Yellow/ochre buildup on the knotwork border


The large sky area wash that I left blotchy while purposely keeping the area near their faces the lightest.


Filling in the areas between the knotwork darker


Knotwork done


Weasel fur


Mouse fur & Cloak


Splotchy happy accident helmet


When I'd finished the painting, I didn't think the piece was done. This is a classic thing for me. I work the watercolor thinking that I'll make the image strong enough to not need line, but ultimately get disappointed in the lack of focus of the final piece...and add line. And for it to look more like a traditional Mouse Guard piece (to get the most of a bid out of it), I knew the line would be important. So, I let the paint really dry, and left the inking for the next day.
The last step was to add in the linework. I first considered using pencil to "ink" the lines, but found that it didn't pop enough to accomplish what I needed, especially near the darker valued areas of the painting. So I switched over to ink pens, large permanent (but archival) markers. I used a few of my stippling tricks, but for the most part left everything an even lineweight to let the watercolor rendering still do most of the talking. To the left, is the final image and below details of the Mouse & Weasel.


2015 Appearances:
Boston Comic CoJuly 31- Aug. 2
Long Beach Comic Con: Sept. 12-13
Baltimore Comic Con Sept. 25-27
New York Comic Con Oct. 8-11
Art-Bubble Comics Festival: Copenhagen: Nov. 14-15

Tuesday, June 16, 2015

Puppet Forge & Petersen Collaboration!

Puppet builder/performer and friend Gordon Smuder and I have collaborated on a new project (or perhaps series of projects depending on how it goes...) Gordon adapted my 2014 Monsters & Dames Monster into a Puppet, we decided that we should officially collaborate and have me draw some monster designs for him to build some limited high end puppets of. The character you see to the left is the first of our collaborations. only 10 of them will be made, and they will debut at HEROES CON this weekend! The deluxe hand puppets, with live hands and full bodies sell for $400 at The Puppet Forge booth and come with a limited print that I drew. Today's post outlines my art process and several more photos of a finished puppet below.

I started by sketching out a few very different types of monsters and slapped some quick color onto them hoping that one of them would catch Gordon's eye. He liked them all, but worried the squid head was too ambitious to start with, the blue troll was too easy/predictable, and the dragon-elk was right on the cusp of being too tricky...so he went with the green pig. I don't know if we will revisit any of the remaining 3 at a later date, or if Gordon would prefer to start with new inspiration sketches next time.
Because Gordon would need more than just the head, I needed to draw out the whole creature for him to start building from. This wouldn't be the final art for the print, but still a sketch that would show the body and proportions and details of the limbs. I offered a palate change here, to avoid comparisons with certain Star Wars pig guards, and Gordon leaned toward the more natural tan colors.

For the final piece, I wanted the character to be acting a bit more, but without a busy background setting. I changed the proportions a bit again and put more detail in the expression and hair. This was all done in pencil, but I left the specifics of the fish bone pile vague for me to figure out as I inked it.
Next up were the inks. I did my usual trick of taping the original sketch to the back of a sheet of bristol board and inking on the bristol over a lightbox so I can see the pencils as a guide. The detail of the hair was lost a bit compared to my pencils, but the fish bone pile was fleshed out more thoroughly. You win some, you lose some.
And lastly I colored the piece in photoshop for the final print.

Now for more photos of Gordon's amazing work at translating my drawing into a fleece & foam puppet:


As I said at the top of the post, swing by The Puppet Forge Booth this weekend at HEROES CON to purchase one of these puppets.


2015 Appearances:
Heroes Con June 19-21
Boston Comic CoJuly 31- Aug. 2
Long Beach Comic Con: Sept. 12-13
Baltimore Comic Con Sept. 25-27
New York Comic Con Oct. 8-11
Art-Bubble Comics Festival: Copenhagen: Nov. 14-15

Tuesday, June 9, 2015

St. Paul's School Visit

In May I was invited as a guest to St. Paul's School in New Hampshire. SPS is a 9-12 grade private boarding school with a fantastic arts program (because of their facilities, professors, and a focus on it being an important part of curriculum). The school also displayed several of my pages in the common area of their art building. Special thanks to Brian Schroyer who organized much of my visit, but also included a Mouse Guard assignment for his students,  and was my guide for my time there. This week's blogpost is very photo intense, but I wanted to try and capture my visit to SPS and share it with you.

School Grounds
I'll start with photos I took of the school grounds & facilities. SPS has a mix of architectural styles and ages, but the bulk of it is older, leaving you to feel like you've stepped into a Muggle Hogwarts in New Hampshire. 


The "New" Chapel (completed in the very start of the last century)
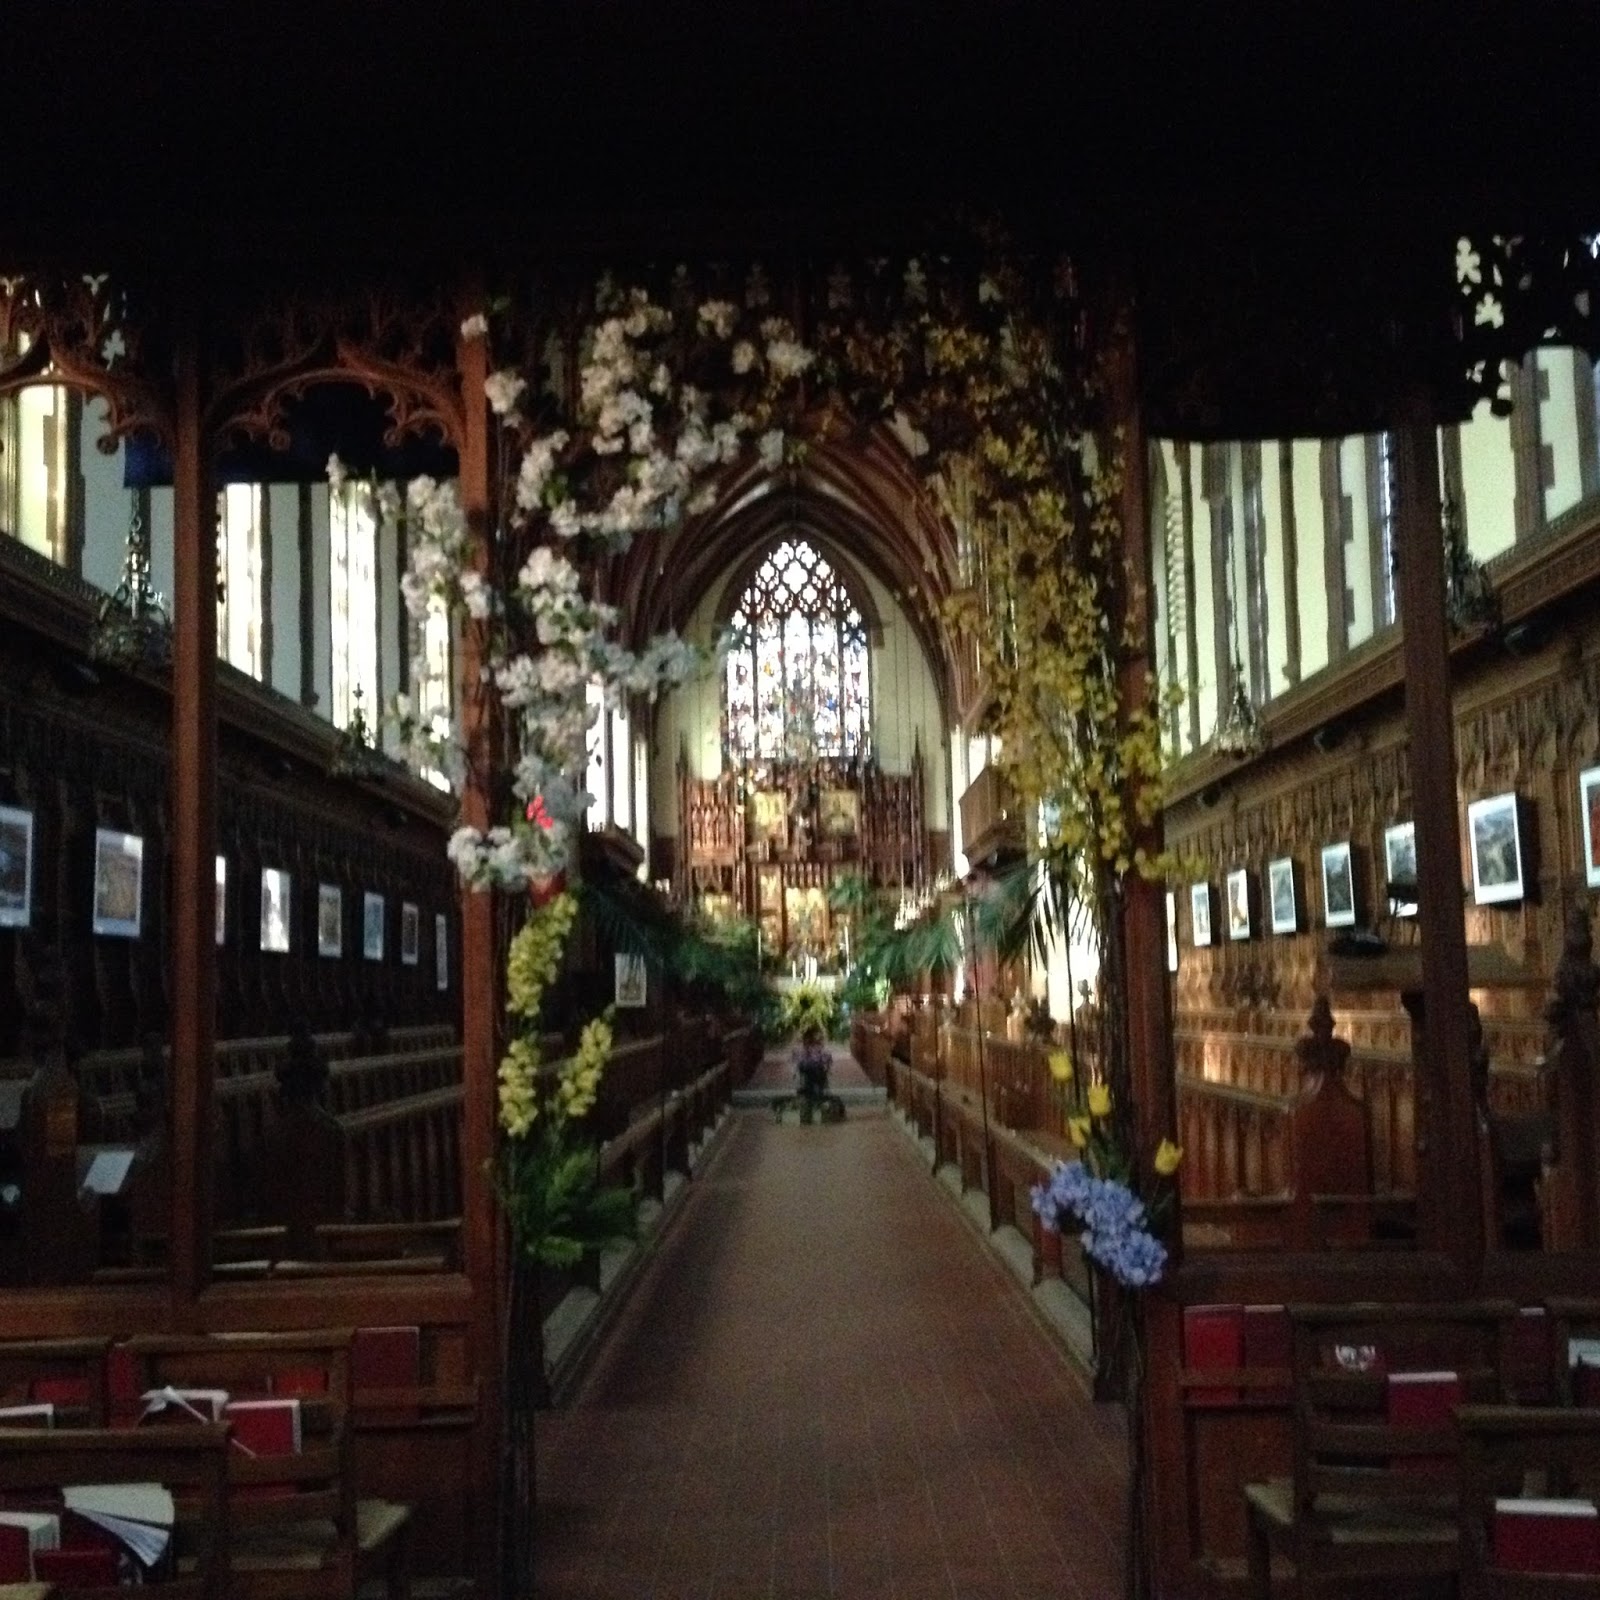
Chapel Interior

Chapel Interior

Chapel Interior

Chapel Interior


Hargate: The Art Building 


Hargate: Common Area


Hargate: Photography Studio

Hargate: Painting Studio

Hargate: Drawing Studio

Hargate: Computer/Graphics Studio

Library: Balcony

Library: Study Room

 Scudder House (my lodgings for the visit)

Scudder House: Common Room

Hall to the Dinning Rooms

A room in the Dining Hall used for special occasions

A Room in the Dining Hall used for special occasions

A Room in the Dining Hall used for special occasions

At SPS in the Building where the Dining Hall is, every graduate's name is carved into the wall under a coat of arms for their graduating year. In the room pictured above where some of the oldest graduates are listed is a "Harry Potter".

 My visit and interactions with the students.
While visiting SPS, I was shown around campus, did demonstrations and interacted with students, discussed curriculum with the teachers, and gave a formal presentation in the auditorium. 

Some of My Mouse Guard pages were on display in the common area of Hargate

Signing books for Brian Schroyer's daughter,


Giving a Coloring Demo to the Students
Coloring Demo


Looking over proofs with the Printmaking class

Inking Demo on a lightbox

Inking Demo

Inking Demo

Inking Demo sample

Presentation for Students & Faculty
(I focused on the "Drawing Like Yourself" message)

Reading with Brian Schroyer's Son & Daughter


 Student Work.
 The level of work these students were doing (9-12) was on par with college level assignments & portfolios. I took photos of work that was either on display or still out and available between classes. 

Oil Painting

Abstracted planes assignment

Abstracted Planes assignment 

Oil Painting


Oil Painting

Stil Life Paintings

Stark Contrast Portraits in Ink

Rendered Pencil Eyes assignment

Painted Composition

Painted Portrait

Close up of Portrait to show brush strokes & canvas texture


 Mouse Guard Assignment
Brian Schroyer assigned his drawing students to do an assignment in advance of my visit. For the first part, they were to refernce one of my drawings (either from my books or culled from this blog) and emulate my techniques and composition to recreate a Mouse Guard image. The second was for them to then draw a new piece using something from the first drawing in a new composition and allowing themselves to draw like themselves.


Student copies of my drawings. These two were so good, I didn't realize they weren't print outs of my work until I was up close to them.

 The Students' own compositions:


 ---------------------------------------


The experience I had at SPS was a wonderful one. In my early college days I'd considered becoming a professor of printmaking, but with my desire to focus on my own work and avoid conflict with any school's administration, I never pursued it. I love to inform and share ideas and verbalize what I've come to learn, and I try to do as much of that as possible at conventions, but doing it for students of art was another level of fulfillment of my college era goal. I hope to do more of it and hopefully get to return to St. Paul's School sooner than later.


2015 Appearances:
Heroes Con June 19-21
Boston Comic CoJuly 31- Aug. 2
Long Beach Comic Con: Sept. 12-13
Baltimore Comic Con Sept. 25-27
New York Comic Con Oct. 8-11
Art-Bubble Comics Festival: Copenhagen: Nov. 14-15

Blog Archive